
The best vr travel case for quest 3 is the one that protects the headset lenses, keeps controllers from grinding against the face gasket, and still fits how you actually travel, backpack, carry-on, or daily commute.
Most people start shopping after one of two moments: they notice pressure marks on the facial interface, or they pull the headset out and find the lenses dusty, smeared, or worse, scratched. A “case” that looks sturdy can still fail at the details, like interior depth, controller placement, and whether the lid presses on the headset.
This guide breaks down what matters, how to self-check your setup, and how to choose based on your travel style, including a quick comparison table and packing steps that reduce risk without overthinking it.
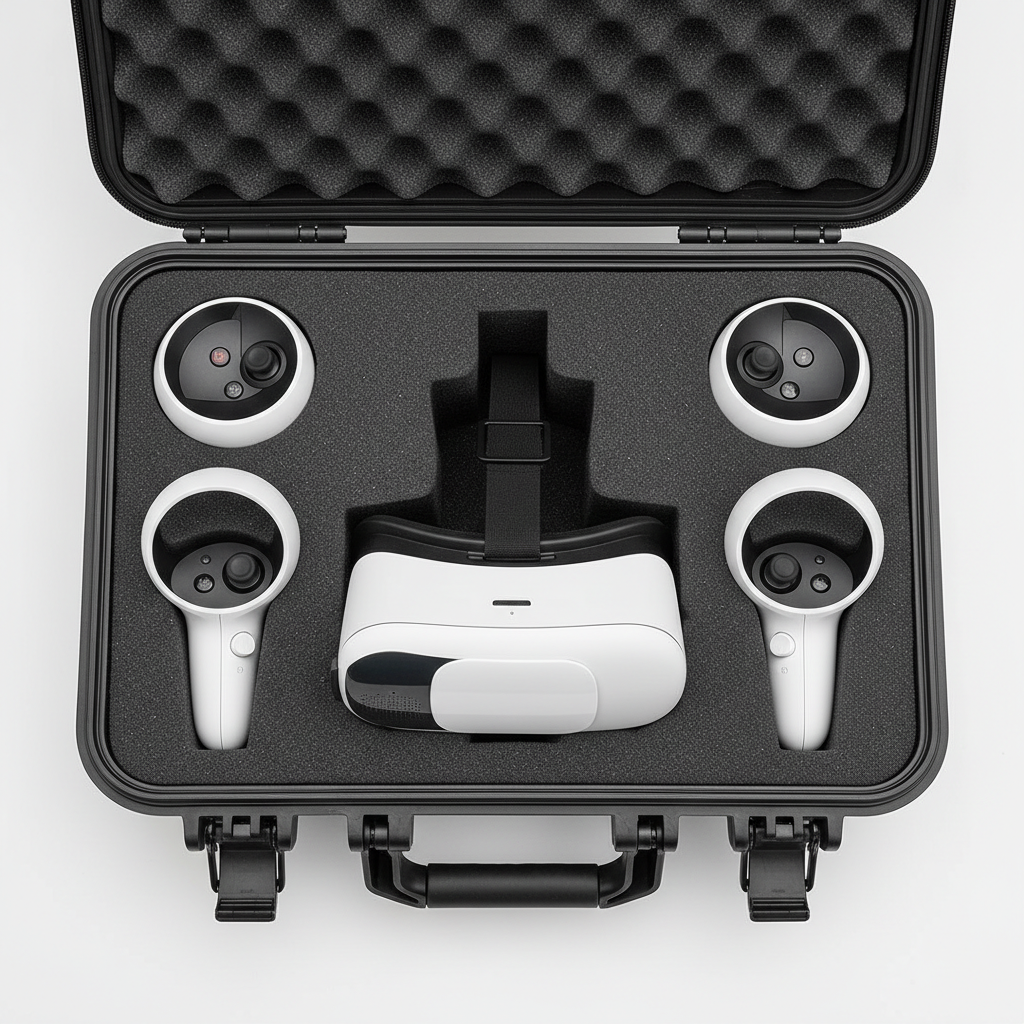
What actually makes a Quest 3 travel case “best”
A travel case can be hard on the outside and still be risky on the inside. With Quest 3, the most important part is internal protection geometry, basically how the case holds the headset so nothing presses on lenses, buttons, sticks, or the facial interface.
- Lens protection: the case should avoid any direct contact with lenses and ideally keep a small “air gap” so pressure on the lid does not transfer to optics.
- Controller isolation: controllers should be secured so thumbsticks and triggers are not bearing load, especially in tight backpacks.
- Strap compatibility: many cases fit the stock strap but struggle with elite-style straps or battery straps, so interior depth matters more than the external shell.
- Drop and crush resistance: semi-hard EVA works for most carry-on situations, while a rigid shell makes more sense for checked luggage or rough transport.
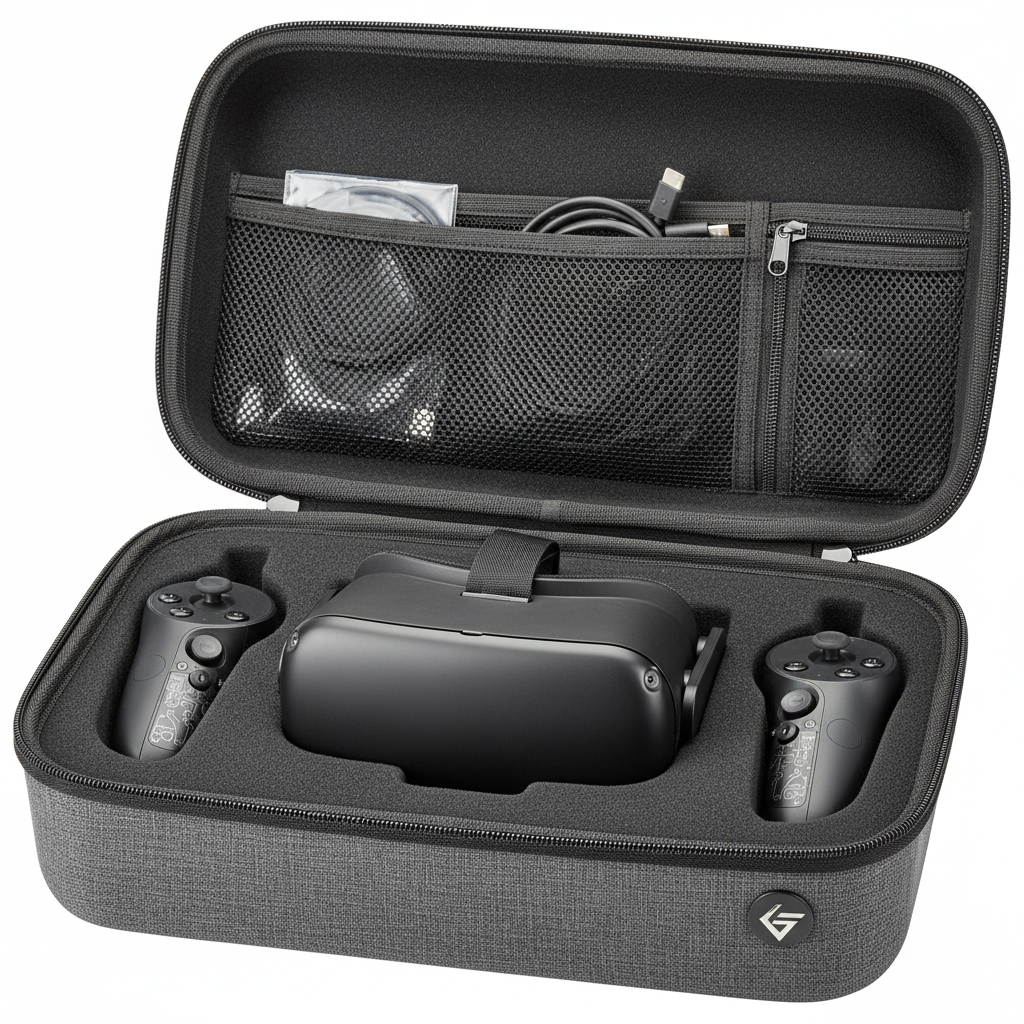
- Cable and accessory management: a mesh pocket is fine, but it must not bulge into the headset area when filled with chargers.
According to Meta support guidance, you should avoid exposing VR headset lenses to direct sunlight and keep optics clean and protected when not in use, a travel case is one of the practical ways to do that during transit.
Common reasons people buy the wrong case
In real shopping behavior, people optimize for what’s visible: the outer shell, the zipper, the handle. The failure points are usually hidden until you pack it a few times.
- They underestimate strap size: third-party straps add height and change the headset’s “resting angle,” which can push the visor into the lid.
- They treat “fits Quest 3” as universal: some listings mean “fits headset only,” not “fits headset plus controllers plus charger.”
- They overpack the top pocket: chargers, power banks, and dongles can turn the pocket into a battering ram against the headset.
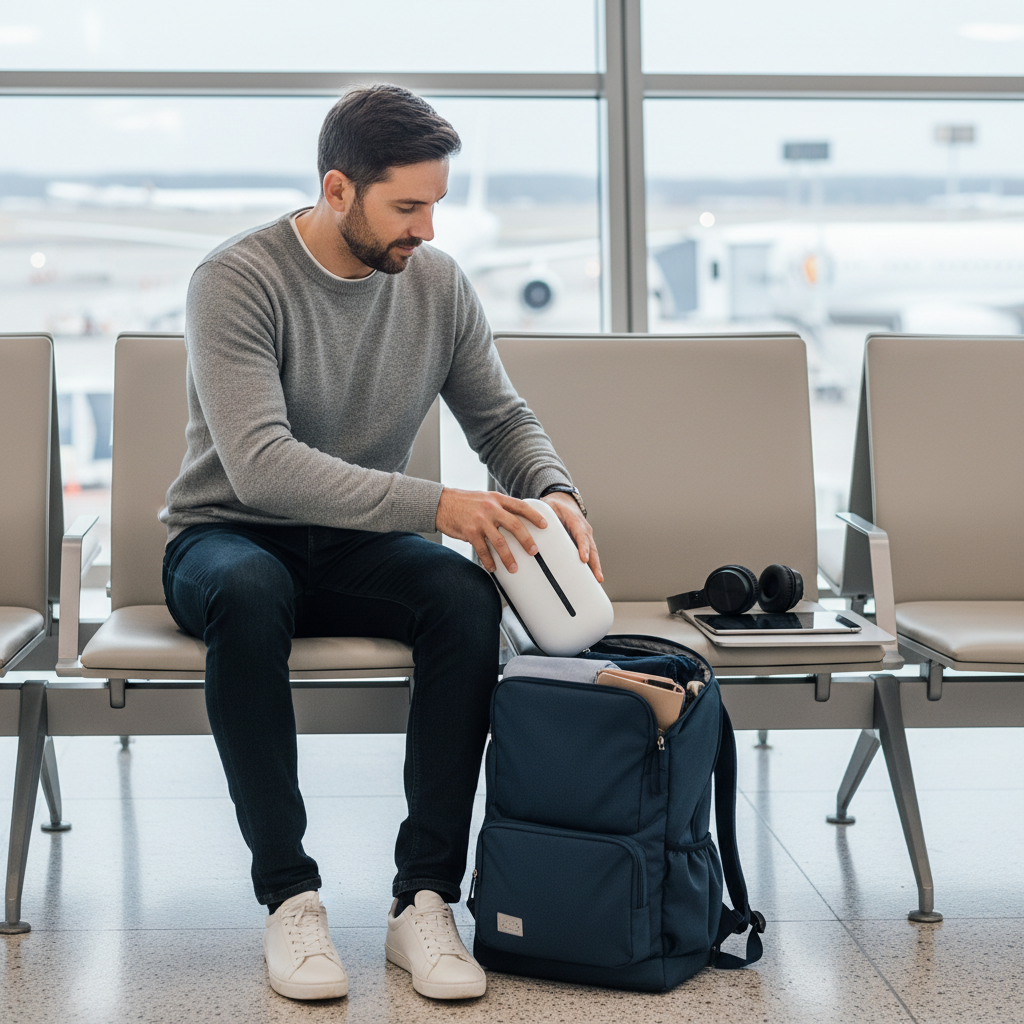
- They ignore carry style: a slim case can be great in a backpack, but annoying if you want a shoulder strap and quick access at airports.
If you’re hunting for the best vr travel case for quest 3, start by deciding what you need to protect against: accidental pressure, drops, or just organization.
Quick self-check: what you need before choosing
This takes two minutes and saves you returns.
- Strap type: stock, elite-style, halo-style, or battery strap
- Do you use a lens cover? if yes, you can tolerate slightly less interior clearance, but you still don’t want pressure on lenses
- Accessories you carry every time: charger brick, cable length, power bank, earbuds, cleaning cloth
- Transport: backpack daily, car trunk, carry-on, checked luggage, or shared bag with other gear
- Risk tolerance: if you travel for work and can’t afford downtime, you typically want more structure, not just a soft pouch
A practical rule: if you’re adding a battery strap and a big charger, you’ll want a case that’s “accessory-aware,” not just headset-shaped.
Comparison table: pick the right case type for your travel style
Brand names change, but case types stay consistent. Use this table to match your routine.
| Case type | Best for | Pros | Watch-outs |
|---|---|---|---|
| Slim semi-hard EVA | Backpacks, commuting | Lightweight, easy to carry, decent crush protection | Often tight with upgraded straps; top pocket can press inward |
| Deep semi-hard “accessory” case | Travel with charger, battery strap | More clearance, better organization | Bigger footprint; can feel bulky in small bags |
| Rigid shell / hard case | Checked luggage, rough handling | Best crush resistance, strong structure | Heavier; internal layout quality varies a lot |
| Soft pouch / sleeve | Home storage, short car trips | Cheap, minimal space | Low protection; not ideal when sharing a bag with other items |
If you’re unsure, the “deep semi-hard” category is often the safest middle ground for most owners looking for the best vr travel case for quest 3, especially if you’re not using the stock strap.
How to pack a Quest 3 case so it stays safe in transit
The case matters, but packing habits make the difference. Here’s a simple routine that reduces common damage scenarios.
Step-by-step packing
- Clean and cover lenses: use a microfiber cloth and consider a lens cover, avoid paper products that can scratch coatings.
- Neutral strap position: set the strap so the headset sits naturally without forcing the visor upward into the lid.
- Controllers face inward: place them so rings and sticks are not pressed against hard walls, use dedicated cutouts when available.
- Keep heavy items away from the lid pocket: put power banks in a separate pouch in your bag, not on top of the headset.
- Zip test: close the case slowly, if you feel resistance, don’t “muscle it,” something inside is under load.
One more practical point: if your case rides in a backpack, position it so the flat side faces outward, it tends to reduce random pressure points from other items.
Key features to look for when shopping (and what to ignore)
Product pages love big claims. This is what usually matters in day-to-day use.
- Structured interior cradle: foam or molded tray that keeps the headset from sliding
- Controller retention: straps, recesses, or dividers, anything that stops controller-to-headset contact
- Sturdy zipper track: smooth zippers reduce “snag-and-yank,” which can jolt the contents
- Low-bulge pocket: mesh is fine, but the pocket should have a limit so it can’t press into the headset bay
What I’d personally down-rank: fancy exterior textures, “tactical” styling, and oversized logos. They rarely improve protection, and sometimes they add bulk for no reason.
Common mistakes and safety notes (worth reading)
Small errors create most of the “why is my headset scuffed?” stories.
- Leaving lenses exposed in a bright environment: sunlight can damage VR optics and displays, so keep the headset in the case or covered when traveling. According to Meta, direct sunlight through lenses can harm the device.
- Using cleaners not meant for lenses: alcohol wipes or household sprays can damage coatings, when in doubt, stick to a microfiber cloth and manufacturer guidance.
- Storing loose batteries or metal objects in the same pocket: they can scratch plastics or cause other issues if they contact charging pins.
- Over-tight controller placement: a “perfect fit” that presses on sticks can create drift-like problems over time, in many cases it’s avoidable.
If your headset already has visual artifacts, tracking issues, or physical damage, a case won’t fix it, and it may be worth checking warranty options or talking to support.
So what’s the “best” choice for most people?
For most U.S. users, the best vr travel case for quest 3 is a semi-hard, deep interior case with a molded cradle for the headset, isolated controller bays, and a pocket that can’t bulge into the main compartment when you add a cable.
If you travel light and use the stock strap, a slimmer EVA case is usually enough, as long as it passes the slow-zip resistance test and doesn’t let controllers touch the headset. If you’re tossing gear in a trunk, sharing bags with other equipment, or checking luggage, consider stepping up to a rigid shell style and keep accessories in separate compartments.
Action you can take today: measure your strap height at its tallest point, then compare that to case interior depth, and do not rely on “fits Quest 3” alone. After you buy, pack it once, close it slowly, and adjust until nothing feels compressed.
Key takeaways
- Interior clearance beats exterior toughness for Quest 3 lens and gasket protection.
- Controller separation prevents most rubbing and pressure damage.
- Don’t overfill the lid pocket, heavy items belong elsewhere.
FAQ
What size case fits Quest 3 with an upgraded head strap?
It depends on the strap design, but many halo and battery straps need a deeper case than stock. Look for listings that mention strap compatibility and check interior depth, not just external dimensions.
Is a hard shell case necessary for air travel?
For carry-on, many people do fine with semi-hard EVA. A hard shell makes more sense if the case may be crushed under heavier items or if you’re checking bags, where handling can be rougher.
Can I store the charger and power bank in the same case?
You can, but keep heavier items from pressing into the headset bay. If the pocket bulges inward when zipped, move the power bank to a separate pouch in your backpack.
How do I protect the lenses inside a travel case?
Use a microfiber cloth and consider a lens cover, then make sure the case interior does not touch the lens area. Avoid packing anything loose that could shift and rub against the optics.
Why do some cases cause controller stick drift?
They don’t “cause drift” directly in every situation, but constant pressure on sticks or triggers during transport can stress components. A case with proper controller recesses reduces that risk.
Should I keep my Quest 3 in the case when not traveling?
Often yes, especially if you have pets, dust, or bright windows. Just make sure it’s dry, clean, and not stored in extreme heat, and follow manufacturer storage guidance.
Is it okay to put the headset in a backpack without a case?
Many people do, but it’s a common path to scuffs and lens issues when the headset rubs against chargers, keys, or pressure from books. Even a semi-hard case is usually a big step up in protection.
If you’re trying to choose the best vr travel case for quest 3 without buying two and returning one, make a quick list of your strap and must-carry accessories, then pick a case type that matches your travel style, it’s the most reliable shortcut to a “fits in real life” setup.