
how to stream vr games on twitch is mostly about solving three things fast: capturing the right view, keeping audio understandable, and stopping your stream from turning into a shaky, nausea-inducing mess.
If you tried a “normal” Twitch setup and it felt off in VR, you’re not imagining it, VR adds extra capture layers, more CPU/GPU load, and new comfort issues for viewers. The good news is you don’t need a Hollywood rig, you just need the right routing and a few settings that are specific to VR.
This guide breaks down the common setups (PC VR vs. standalone), what to buy vs. what to skip, and the exact OBS/Twitch choices that usually make VR streams look and sound “watchable” instead of chaotic.
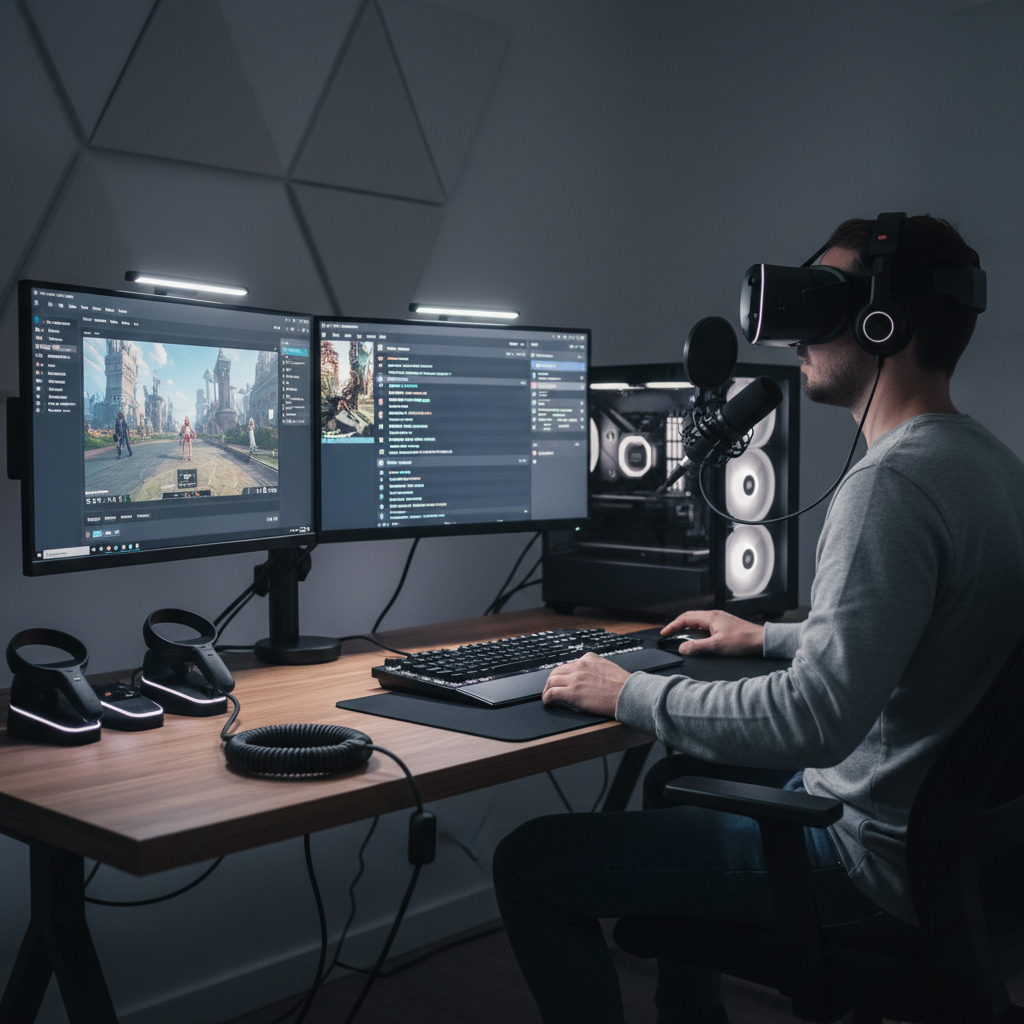
Pick your VR streaming path (PC VR vs. standalone)
Before you touch OBS, decide what you’re actually streaming from. In practice, most problems come from mixing “standalone expectations” with “PC streaming reality.”
PC VR (SteamVR, Oculus PC, Windows)
- Best for: highest visual quality, easiest overlays, more control in OBS.
- Typical gear: VR headset + gaming PC, and optionally a separate mic.
- Why it’s simpler: the game already renders on the PC, so OBS can capture it directly.
Standalone VR (Meta Quest running games on-headset)
- Best for: quick casual streaming, minimal PC reliance, traveling.
- Tradeoffs: more limitations on overlays/alerts, capture can be fussier, quality depends on your method.
- Common approaches: built-in streaming (limited), casting to PC + OBS, or capture solutions depending on device ecosystem.
According to Twitch, streams should follow their community and content rules, so if you stream VR social apps, be extra careful with what appears in voice chat or user-generated content.
What you need: a realistic gear and software checklist
You can overbuy fast in VR. I’d prioritize stability and audio clarity over “max graphics,” because viewers leave for stuttery video and muddy sound long before they complain about resolution.
- Streaming PC (or same PC you play on): modern CPU, enough RAM, and a GPU that can handle VR plus encoding. If your VR game already pushes your system, consider lowering in-game settings before touching OBS.
- OBS Studio: the default choice for most VR creators because it’s flexible and well-supported.
- Microphone: a USB mic or XLR setup beats headset mics in most rooms. If you must use the headset mic, keep it, but plan to tune filters.
- Headphones/earbuds: helps prevent your mic from picking up game audio.
- Optional webcam: many VR streamers skip it, but a small “real you” corner cam can increase trust and reduce “where is the streamer?” confusion.
- Lighting (optional): if you use a webcam, even a single soft light helps.
Key point: if your system can’t keep a stable frame rate in VR, no OBS setting will fully save it. You’re better off reducing game resolution scaling or graphics features before adding more stream layers.
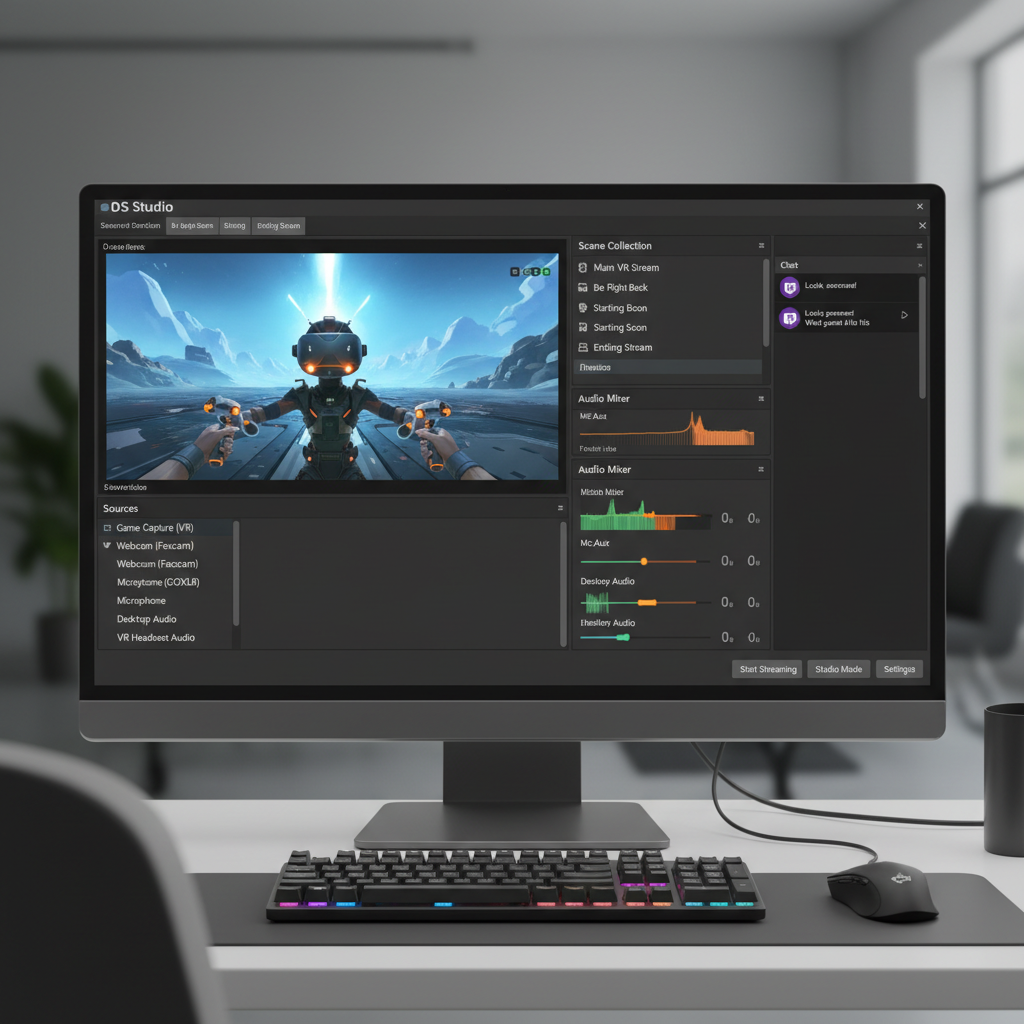
How to capture VR gameplay cleanly in OBS
how to stream vr games on twitch usually comes down to choosing the right “view” to capture. VR games can output multiple windows, and capturing the wrong one often causes black screens, cropped views, or jitter.
Option A: Capture the game mirror window (most common)
- Use Game Capture in OBS if it works reliably with your title.
- If Game Capture fails, use Window Capture for the VR mirror window.
- As a fallback, Display Capture works, but it can be heavier and sometimes captures notifications you didn’t mean to show.
Option B: Use a stabilized “spectator” or “mixed reality” view (when available)
- Some VR titles include a spectator camera, third-person view, or smoothing options.
- This is often more comfortable for viewers because it reduces constant head-bob motion.
Option C: SteamVR/OpenXR tools for alternate perspectives
Depending on your headset and runtime, you may be able to display a separate view that’s more stream-friendly than the raw headset mirror. This varies a lot by game and platform, so treat it as a “nice to have,” not a requirement.
Audio that doesn’t annoy: mic, game sound, and voice chat
In VR, audio gets messy because you may have game audio, Discord/party chat, alerts, and your mic, all fighting for attention. The fix is boring but effective: route sources intentionally and keep levels consistent.
A simple audio routing plan
- Mic: one dedicated mic source in OBS, avoid capturing it twice.
- Game audio: one desktop/game audio source.
- Voice chat: ideally separated (Discord output to its own device), so you can lower it without killing game sound.
Starter OBS filters that help in real rooms
- Noise suppression: reduces fan/AC noise, but too much can make you sound “watery.”
- Compressor: keeps your voice audible when you get excited.
- Limiter: stops sudden shouting from clipping.
According to the FTC, endorsements and sponsorships should be disclosed clearly, so if you run sponsored VR gear or affiliate links on stream, keep the disclosure visible and easy to understand.
Recommended Twitch + OBS settings for VR (plus a quick table)
VR adds load, so your streaming settings should aim for stable output. It’s tempting to push 1080p/60, but a stable 720p/60 often looks better than a stuttering 1080p stream.
| Goal | Resolution (Canvas/Output) | FPS | Bitrate (starting point) | Notes |
|---|---|---|---|---|
| Smooth motion VR | 1920x1080 / 1280x720 | 60 | 4500–6000 kbps | Good balance for fast games, less encoder stress |
| Sharper UI-heavy VR | 1920x1080 / 1920x1080 | 30–60 | 5500–6000 kbps | Only if your PC holds steady while in VR |
| Low-end PC fallback | 1280x720 / 1280x720 | 30 | 2500–4000 kbps | Better than constant dropped frames |
Encoder choice: if you have NVIDIA, NVENC is often the practical pick so your CPU can breathe. If you’re CPU-encoding, start conservative and move up only when stable.
- Keyframe interval: 2 seconds is commonly recommended for Twitch workflows.
- Rate control: CBR is the usual safe default for Twitch.
- Look for: dropped frames, encoder overload, and VR game frame dips.
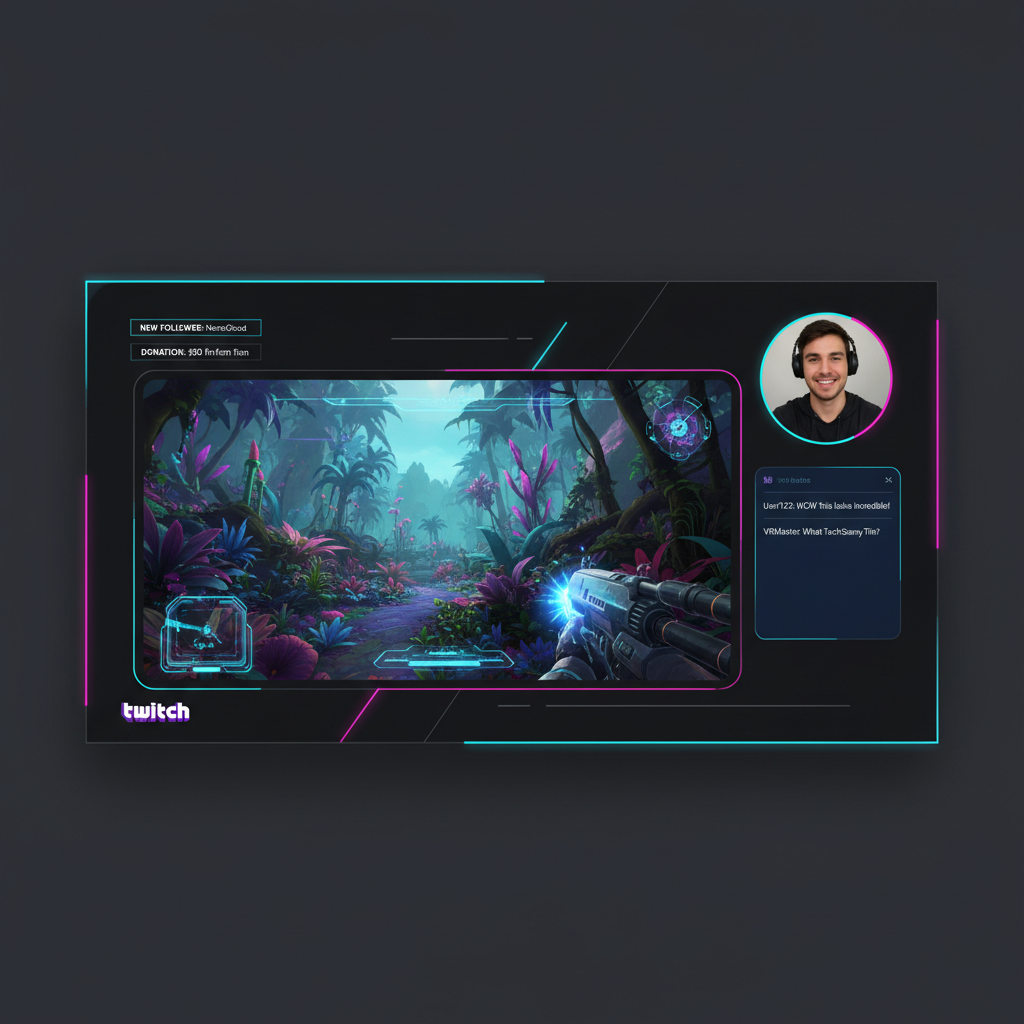
Make VR watchable: comfort, stabilization, and layout choices
Plenty of viewers enjoy VR, but rapid camera swings can still be uncomfortable. You don’t have to “baby” the stream, just remove the avoidable pain points.
- Prefer a stabilized view when the game offers it, spectator mode often looks better than raw headset movement.
- Avoid extreme FOV distortion if your mirror view looks like a fisheye, try alternate mirror settings if available.
- Keep overlays minimal because VR scenes already feel busy, chat and alerts should be readable but not dominant.
- Use a short “BRB” scene since headset adjustments happen, and viewers appreciate knowing you didn’t crash.
Safety note: streaming while in VR can increase distraction and fatigue. If you feel motion sickness, headaches, or eye strain, it’s usually smart to take a break and, in persistent cases, consider asking a medical professional.
A practical step-by-step workflow (from zero to live)
This is the “do it in order” version I wish more guides used, because VR setups break when you skip steps and then try to debug everything at once.
- Step 1: Launch the VR game and confirm the mirror/spectator window appears on your PC.
- Step 2: In OBS, add a new scene, then add Game Capture or Window Capture and verify you see motion.
- Step 3: Add mic source, then speak and watch levels, aim for consistent voice without peaking.
- Step 4: Add desktop/game audio, confirm it’s not doubling, then set a comfortable mix versus your voice.
- Step 5: Run a local recording test for 60–120 seconds, check for stutter, sync issues, and readability.
- Step 6: Do an unlisted or test stream if possible, and watch it from a phone to judge real-world quality.
- Step 7: Go live, keep OBS stats visible, if frames drop, reduce output resolution before anything else.
Quick key takeaways: prioritize stable FPS, capture the right window, keep your mic clean, and don’t chase “max settings” while your PC fights VR rendering.
Troubleshooting: the issues VR streamers hit most
- Black screen in OBS: try Window Capture instead of Game Capture, run OBS as admin, or swap capture method (Display Capture as last resort).
- Stream is shaky or nauseating: look for spectator view, smoothing, or a different mirror mode, reduce rapid head snaps when possible.
- Audio echo/doubling: disable extra audio sources, and ensure you’re not capturing the same device twice.
- Lag spikes when chat alerts trigger: simplify overlays, reduce browser source load, and consider moving alerts to a lighter scene.
- Encoder overload: lower output resolution, lower FPS, switch to hardware encoding if available.
According to NVIDIA, hardware encoding via NVENC is designed to offload video encoding to dedicated hardware on supported GPUs, which can help performance in demanding workloads like gaming plus streaming.
Conclusion: get to “stable and clear,” then upgrade
how to stream vr games on twitch gets dramatically easier once you stop trying to perfect everything on day one and focus on a stable capture, understandable audio, and a viewer-friendly camera view. If your first stream runs smoothly at 720p/60 with clean voice and no weird black screens, you’re already ahead of most first-time VR channels.
Pick one setup path, run a short recording test before going live, then upgrade one variable at a time, mic quality, spectator view, overlays, and only then higher resolution.