
how to enable g sync for gaming monitor usually comes down to three things: the right connection, the right NVIDIA Control Panel settings, and a couple Windows/monitor toggles that people skip without realizing.
If you have tearing, random stutter, or that “why does this feel worse than my old monitor” moment, it’s often because G-SYNC is not actually active even though your monitor box says it supports it. And yes, “G-SYNC Compatible” behaves a bit differently than a full hardware G-SYNC module, which is where confusion starts.
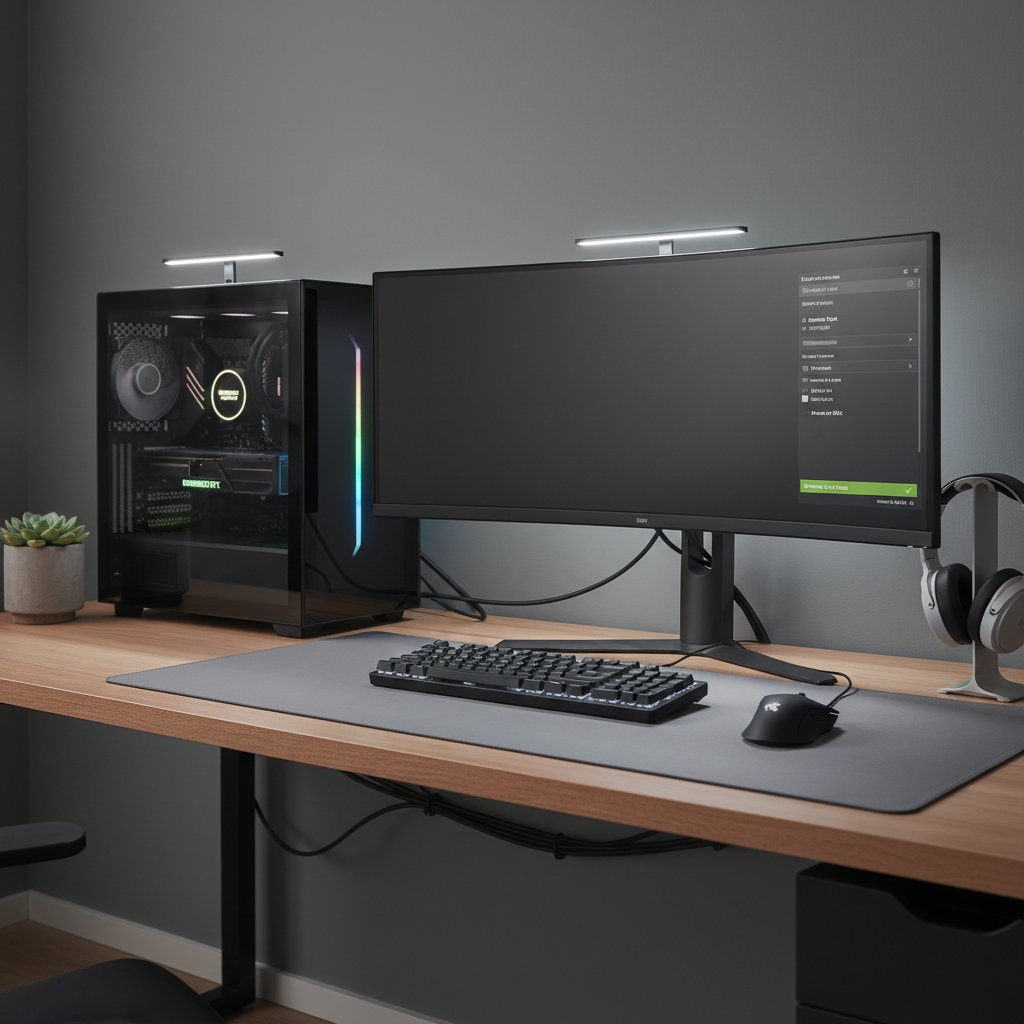
This guide focuses on practical steps: what to check first, what settings matter, and what to do when the G-SYNC option is missing. You’ll also get a quick decision checklist and a small troubleshooting table so you can stop guessing.
Before you start: what “G-SYNC” you actually have
People say “G-SYNC” as a blanket term, but NVIDIA uses it for a few categories. Knowing which one you own helps set expectations, especially for flicker or narrow VRR ranges.
- G-SYNC (module): typically the smoothest experience and widest variable refresh rate behavior, but usually costs more.
- G-SYNC Compatible: uses VESA Adaptive-Sync (often marketed as FreeSync) and is validated by NVIDIA for acceptable performance.
- Unvalidated Adaptive-Sync: your monitor supports VRR, but NVIDIA hasn’t certified it; it can still work, just with more “it depends.”
According to NVIDIA (their G-SYNC documentation and driver help pages), G-SYNC Compatible monitors must be enabled in the NVIDIA Control Panel and typically require DisplayPort to ensure consistent VRR behavior.
Compatibility checklist (fast self-test)
Use this to confirm you’re in the “this should work” bucket before you spend time in settings.
- NVIDIA GPU: GTX 10-series or newer is a common baseline for G-SYNC Compatible; older cards can be more limited.
- Connection: DisplayPort is the safest choice; HDMI VRR can work on some setups, but it’s more variable by monitor/TV model.
- Monitor feature: Adaptive-Sync/FreeSync/VRR must be enabled in the monitor’s OSD menu.
- Driver: install a current NVIDIA Game Ready Driver (clean install if you’ve been battling display issues).
- Single display testing: if you run multiple monitors, test with only the gaming monitor connected at first.
If any item fails, you can still keep reading, but expect the fix to be hardware/connection related rather than a hidden checkbox.
Step-by-step: enable it in NVIDIA Control Panel (the part most people miss)
This is the core workflow when you’re figuring out how to enable g sync for gaming monitor on Windows with an NVIDIA card.
1) Turn on VRR in your monitor’s OSD
Open your monitor menu and look for items like Adaptive-Sync, FreeSync, or VRR. Enable it, then power-cycle the monitor if the menu suggests it.
2) Enable G-SYNC in NVIDIA Control Panel
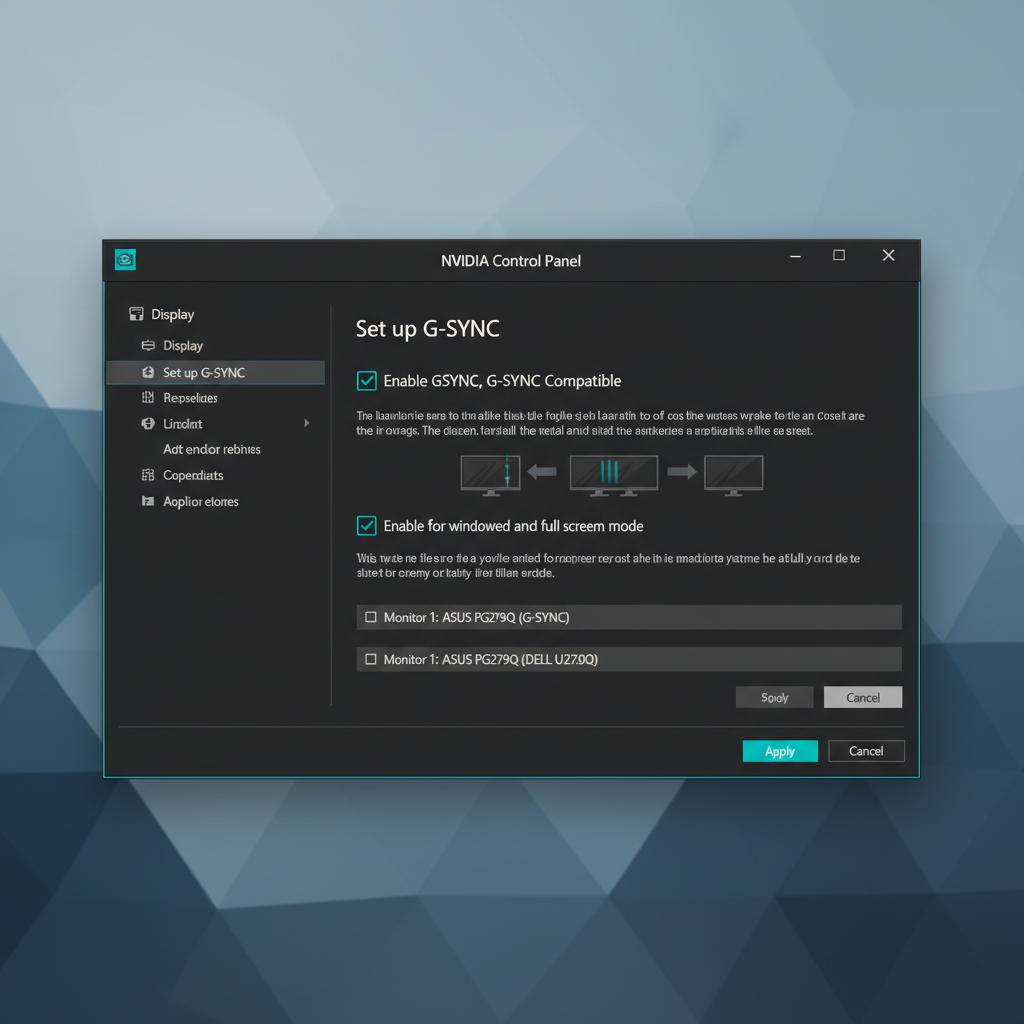
Right-click desktop → NVIDIA Control Panel → under “Display” choose Set up G-SYNC.
- Check Enable G-SYNC, G-SYNC Compatible
- Pick Enable for full screen mode (start here), or Enable for windowed and full screen if you play borderless windowed
- Select your gaming monitor in the list, then check Enable settings for the selected display model if shown
3) Confirm refresh rate and basic display settings
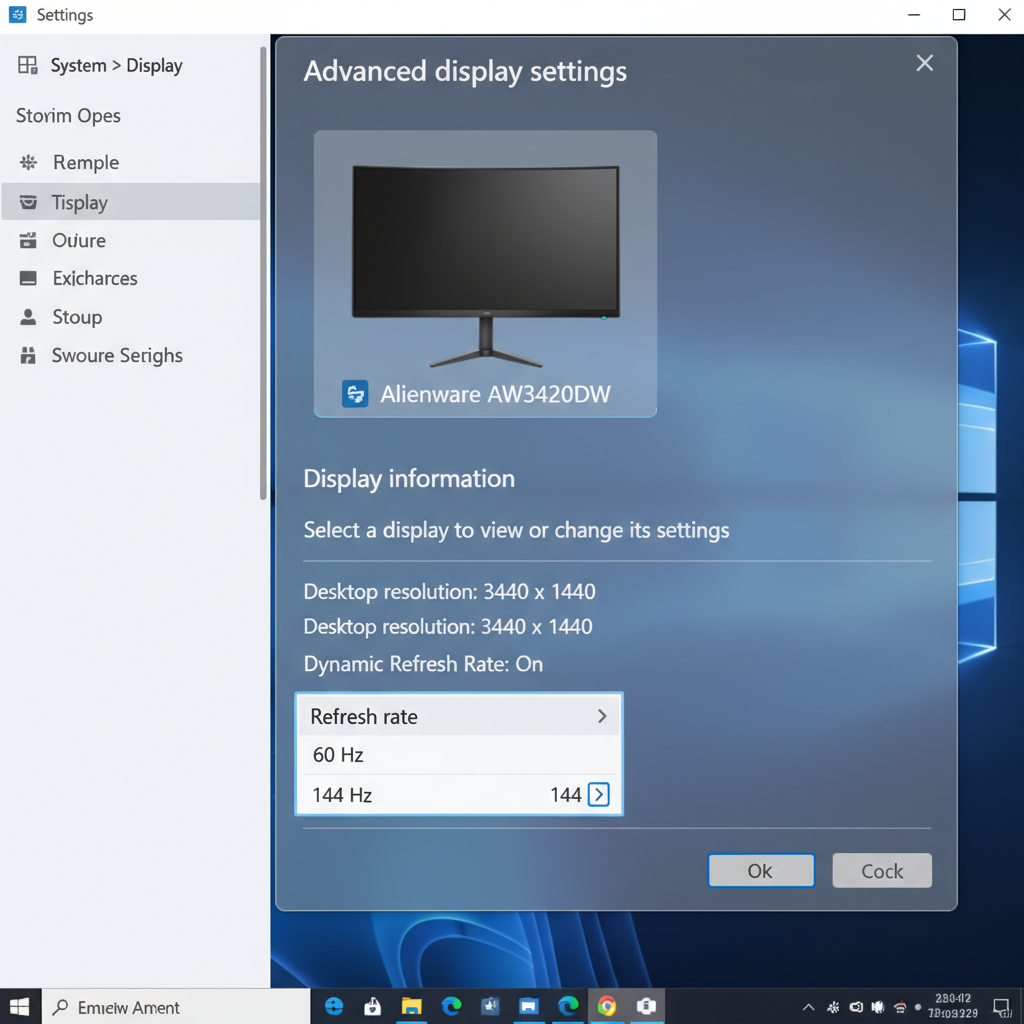
In NVIDIA Control Panel → “Change resolution,” set the monitor to its native resolution and highest stable refresh rate (144Hz/165Hz/240Hz, etc.).
Then go to Windows Settings → System → Display → Advanced display, confirm the same refresh rate appears there too. A mismatch can make you think G-SYNC is broken when it’s just running at 60Hz.
Game settings that make or break the experience
Enabling G-SYNC is not the end of the story. Many “it still tears” reports come from in-game choices that fight VRR.
V-Sync: counterintuitive, but often helpful
In NVIDIA Control Panel → “Manage 3D settings,” many players set Vertical sync to On (globally or per-game). This sounds wrong, but the idea is: G-SYNC handles variable refresh under the max refresh rate, while V-Sync helps prevent tearing when the frame rate exceeds the display’s ceiling.
Then, inside the game, you either turn V-Sync Off (common approach) or leave it On depending on the title. The “right” combo varies, so treat this as a tuning knob, not a rule.
Frame rate cap: the quiet fix for spikes
If your GPU regularly hits (or exceeds) your max refresh rate, you may see judder or input feel changes. Capping frames a few FPS below max often smooths things out.
- 144Hz monitor: try a cap around 140–142 FPS
- 165Hz monitor: try 160–162 FPS
- 240Hz monitor: try 235–238 FPS
You can cap via in-game settings, NVIDIA Control Panel “Max Frame Rate,” or a trusted limiter. Pick one method and keep it consistent to avoid weird conflicts.
Troubleshooting when the G-SYNC option is missing (or won’t stay enabled)
This is where most time gets wasted. Here’s a practical map of what to check, in the order that tends to matter.
| Symptom | Likely cause | What to try |
|---|---|---|
| “Set up G-SYNC” not shown | Wrong cable/port, VRR off in OSD, unsupported GPU | Switch to DisplayPort, enable Adaptive-Sync in monitor menu, update driver |
| G-SYNC enabled but tearing continues | FPS exceeds refresh, game in unsupported mode | Cap FPS slightly below refresh, test exclusive fullscreen, verify refresh rate in Windows |
| Flicker in menus or dark scenes | VRR range behavior, unstable overclock, certain game engines | Disable monitor overclock, try different refresh rate, limit FPS, test another title |
| Random black screen when alt-tabbing | Mode switching, multi-monitor quirks | Try “full screen only,” test single monitor, update driver, avoid mixed refresh displays |
| Works on one game, not another | Engine/V-Sync/borderless behavior | Create per-game profile in NVIDIA Control Panel and adjust V-Sync + cap |
Also worth a quick note: if you’re on a laptop with Optimus or hybrid graphics, G-SYNC availability may depend on whether the monitor is wired to the dGPU output. Many laptops support VRR only on specific ports.
Practical “known-good” settings to start with
If you want a baseline before you micro-tune, this setup works in many common PC gaming builds. Treat it as a starting point, not a promise.
- Connection: DisplayPort (monitor VRR on)
- NVIDIA Control Panel → Set up G-SYNC: Enable, full screen mode (expand to windowed later if needed)
- NVIDIA Control Panel → Manage 3D settings: V-Sync On
- Frame cap: set a cap a few FPS under max refresh
- In-game: start with V-Sync Off, then flip it only if the game behaves better with it
Key point: if you change three variables at once, you won’t know what fixed the issue. Change one, test for five minutes, then move on.
When to get extra help (and what to bring)
If you’ve tried the steps above and still can’t confirm it’s working, you may need vendor-specific support. That’s normal, especially with firmware quirks or unusual multi-monitor setups.
- Check your monitor’s support page for firmware updates and VRR notes.
- Use NVIDIA’s monitor list for G-SYNC Compatible status if you want to know whether your model is validated. According to NVIDIA, validation indicates NVIDIA tested the display for baseline VRR performance.
- If you contact support, include GPU model, driver version, connection type, refresh rate, and whether the issue happens in exclusive fullscreen or borderless.
If you see persistent blackouts or signal drops, it can be a cable/port stability issue. Swapping to a certified DisplayPort cable is a boring suggestion, but it’s often the fastest confirmation step.
Conclusion: a quick way to verify you’re actually running G-SYNC
Once you finish how to enable g sync for gaming monitor steps, the best outcome is simple: smooth motion when frames dip, and no tearing when things fluctuate. If it still looks identical, assume it’s not active yet and re-check the basics: DisplayPort, monitor VRR toggle, NVIDIA “Set up G-SYNC,” and your refresh rate in Windows.
If you want one action to take right now, set the monitor to its max refresh rate, enable G-SYNC for fullscreen mode, then cap FPS a few frames under the ceiling. That combo solves a surprising amount of “it’s on, but it doesn’t feel on.”
FAQ
How do I know if G-SYNC is actually working in a game?
In many cases you’ll feel it more than you “see it,” especially during camera pans when FPS fluctuates. You can also look for NVIDIA indicators or use a trusted FPS/refresh overlay, but the practical test is: reduced tearing and less stutter during frame swings.
Do I need DisplayPort to enable G-SYNC on a gaming monitor?
Often, yes. DisplayPort is the most consistently supported path for G-SYNC Compatible monitors. HDMI VRR support varies by monitor and GPU generation, so if you want fewer surprises, start with DisplayPort.
Should I turn V-Sync on or off with G-SYNC?
Many setups run well with V-Sync enabled in NVIDIA Control Panel, plus an FPS cap below max refresh. In-game V-Sync can be left off at first, then adjusted per title if you notice tearing at the top end or odd frame pacing.
Why is the “Set up G-SYNC” menu missing in NVIDIA Control Panel?
The usual reasons are: Adaptive-Sync disabled in the monitor OSD, using the wrong cable/port, or the display connected through an adapter/dock that doesn’t pass VRR properly. Try direct DisplayPort from GPU to monitor and confirm drivers are current.
Can I use G-SYNC with multiple monitors?
Typically yes, but mixed refresh rates and mixed connection types can introduce quirks. If you’re troubleshooting, test with only the gaming monitor connected, get it stable, then re-add other displays.
My screen flickers with G-SYNC enabled, is my monitor defective?
Not necessarily. Some flicker can happen in loading screens, menus, or very low frame rate situations depending on the monitor’s VRR range and how the game engine behaves. Try a frame cap, avoid aggressive overclocks, and test another game before assuming hardware failure.
Does G-SYNC increase input lag?
It depends on settings and frame rate behavior. G-SYNC is often used to improve perceived smoothness without the full tradeoffs of traditional V-Sync, but if you stack settings incorrectly or hit the refresh ceiling constantly, you may notice input feel changes. That’s why the FPS cap matters.
If you’re still stuck after trying the checklist and the “known-good” baseline, and you’d rather not keep chasing settings across Windows, monitor menus, and driver panels, it may be easier to share your GPU model, monitor model, connection type, and a screenshot of NVIDIA Control Panel so someone can spot the one mismatch quickly.